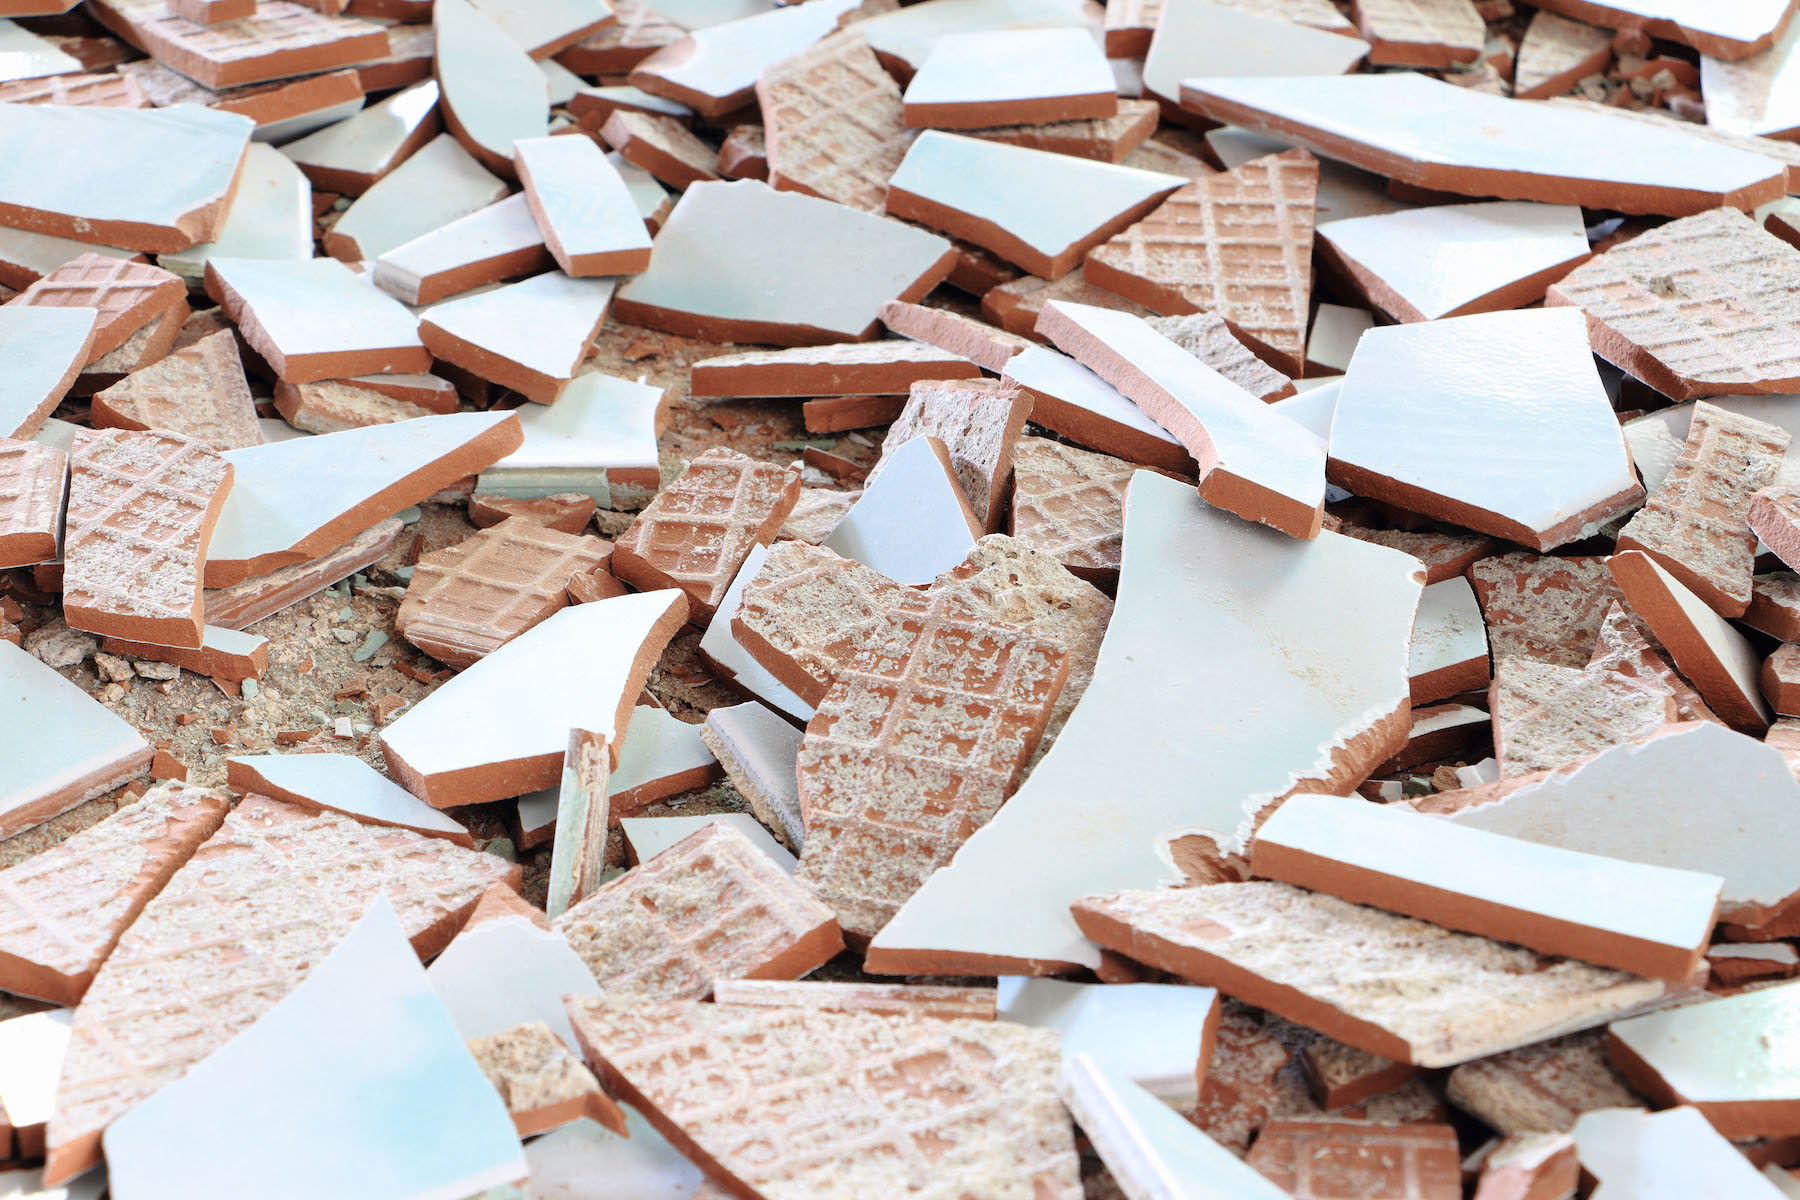
How does one go about correcting grout cracks? Professionally installed tile and grout should accommodate the normal expansion and contraction of tile floors. The grout, however, can crack and collapse, even in the presence of very subtle vibrations.
If the grout cracks for whatever reason, it should be replaced immediately to prevent further harm to the nearby tiles.
While wear and tear can cause grout to break, unstable or uneven flooring might also be to blame. So before you carry out the steps below, get a Gilbert dustless tile removal specialist to look at the root of the issue.
How to Correct Cracks In Tile Grout
The grout lines on your tile floor should be measured for width. If the lines are less than an inch wide, unsanded epoxy or acrylic latex grout is required. For grout lines wider than one-eighth of an inch, sanded grout is necessary.
Flooring made of marble tile is an exception to this rule. Use epoxy or acrylic latex rather than sanded grout since it scrapes the surface. Gilbert dustless tile removal experts are also the best for tile floor installations.
- Go to a tile or home improvement store with a little piece of the broken grout. Use the same grout color as the sample to replace the old grout.
- The texture and structural integrity of the grout may be compromised if water is added to the grout mixture to achieve a perfect hue match.
- Combine 1 tablespoon white vinegar with 1 tablespoon water. Use this mixture to clean the broken grout.
- Cut the broken grout with a grout saw.
- The blade of the saw should be inserted into the damaged grout joint. It resembles a screwdriver or a spherical handle with a saw on its end.
- To cut the grout, move the saw along the joint. If the grout is challenging to remove, the grout saw needs to be pressed farther along the joint.
- Note: Use extreme caution to avoid scratching the tiles.
- Put a damp paper towel on the grout line and wipe it clean. Any standing water in the grout lines should be removed. Keep the tile’s sides slightly moist to help the grout adhere to the tiles.
- Follow the instructions on the grout package to add the right amount of water. Pre-mixed grout contains the proper ratios of sand and Portland cement.
- Add water to the grout in an empty mixing bowl. The grout ought to stay together in a ball when it reaches the proper consistency. Push the grout into the junction with a grout float. Smooth the joint with the rounded end of a craft stick.
- Wipe the surface of the adjacent tiles with a fresh, wet sponge. Rinse the sponge frequently to prevent spreading grout onto neighboring tiles.
- Follow the instructions for drying the grout. Temperature and humidity can impact drying periods.
- Thoroughly scrub the surface of the adjacent tiles with a soft cloth. Use your water and vinegar solution to remove marks if the cloth is ineffective. Apply this mixture to the tile with a clean sponge, then dry it with a clean cloth.
- As the manufacturer directs, apply a grout sealant using a little paintbrush. Before continuing, let the grout sealer dry.

Fix Broken Tile and Grout With Gilbert Dustless Tile Removal
If you have grout cracks, they might get worse if you have problems. This is beyond repair, so you’ll require professionals with dustless tile removal. You can avoid the mess while yet receiving the same excellent tile removal service.
Contact Kodiak Dustless, or you can fill in the compact form for a direct reply.
You can check out customer reviews here, ‘SoTellUs’ and also the for more information.
